To add a printer, you need to be connected to the Word of Life staff network.
- If you are connected with ethernet (with a laptop dock, or if you have a desktop), You're good to proceed
- If you are on WiFi, make sure that you are connected to the WOLWireless WiFi network. Printers added this way will not work if you are connected to the WOL network.
If you experience any issues along the way, please create an IT Helpdesk ticket.
Method 1: Directory listed printers
- Once you have confirmed your network, go to settings in your computer.
- Go to the bluetooth & devices tab.
- Click on Printers & Scanners.
- Click add device.

- You will see a list of printers here - clicking add device here will work, but is not the optimal way.
- Scroll down until you see The printer that I want isn't listed, and click add a new device manually.
- On the find a printer by other options window that opens, click Find a printer in the directory, based on location or feature.

- Click next.
- From the list that displays, double click your desired printer.
- The printer should then install.
Method 2: Universal Printers
Click your start button and type printers to find the Printers & scanners utility

Open the utility by clicking on it then click the Add device button

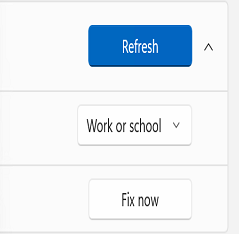
Click the down arrow to change USB or network to Work or school printers

* if you see the Fix now button please click it and ensure you are logged into your Word of Life account.
Find the printer you need in the list and click Add device. If you do not see the desired printer you may need to click Show more devices

The system will now connect to the requested printer


You have successfully added the desired printer